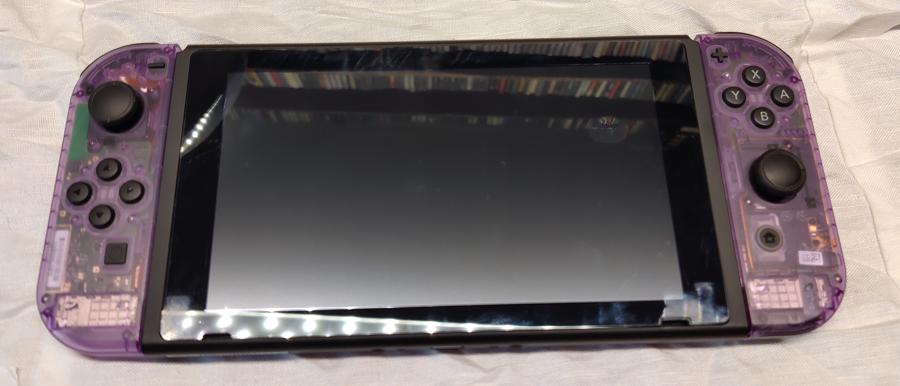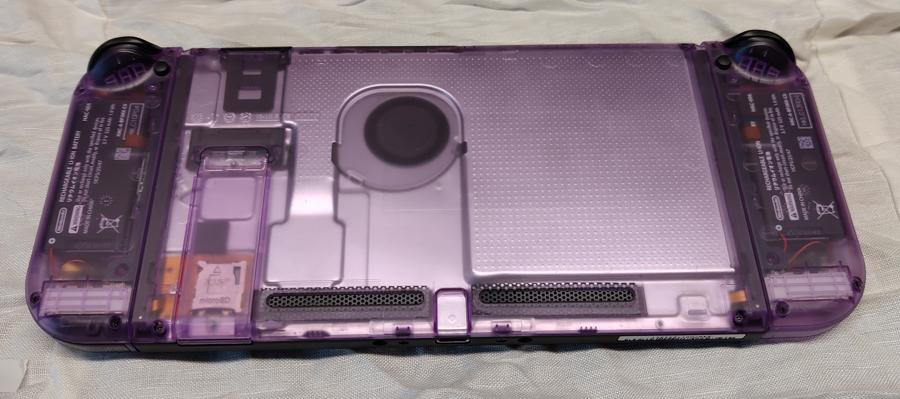
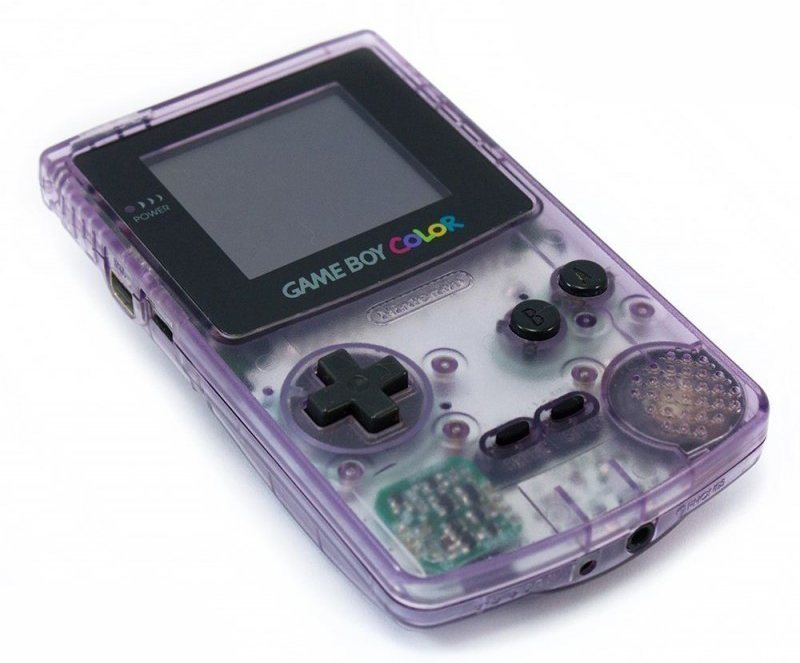
When I was a kid, I had a Gameboy Color in Atomic Purple. I loved that thing to death and I always thought the translucent case was the coolest thing ever, so when I noticed people on ebay selling custom shells for the Switch, I just had to have one.
In purple.
This isn’t a how-to, but I’ll mention a few things I learned that made it easier for me.
The first thing was to put down a light-coloured piece of cloth onto my work bench. This makes it a lot easier to find all the little parts if they drop out during (dis)assembly. It also dampens the surface so they’re less likely to bounce away on the hard work surface and get lost.
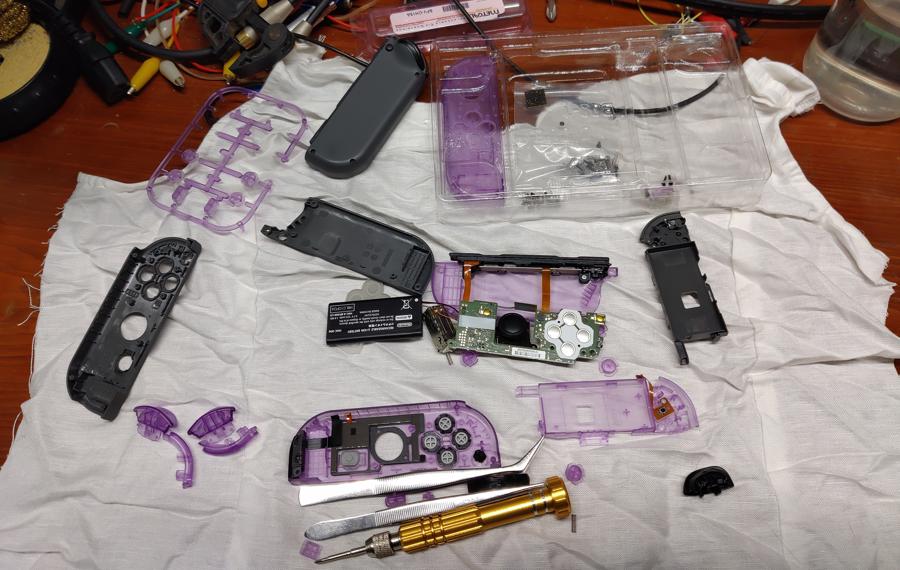
Do it one “piece” of the console at a time so you’re not trying to figure out which part goes into which Joycon. Also, when doing the Joycons, start with the left one which is easier and has fewer internal parts.
Take photos of the innards as you go so you have a reference for how everything should go back together later. The Joycons in particular are already very fiddly to assemble, so try to make it as easy for yourself as possible.
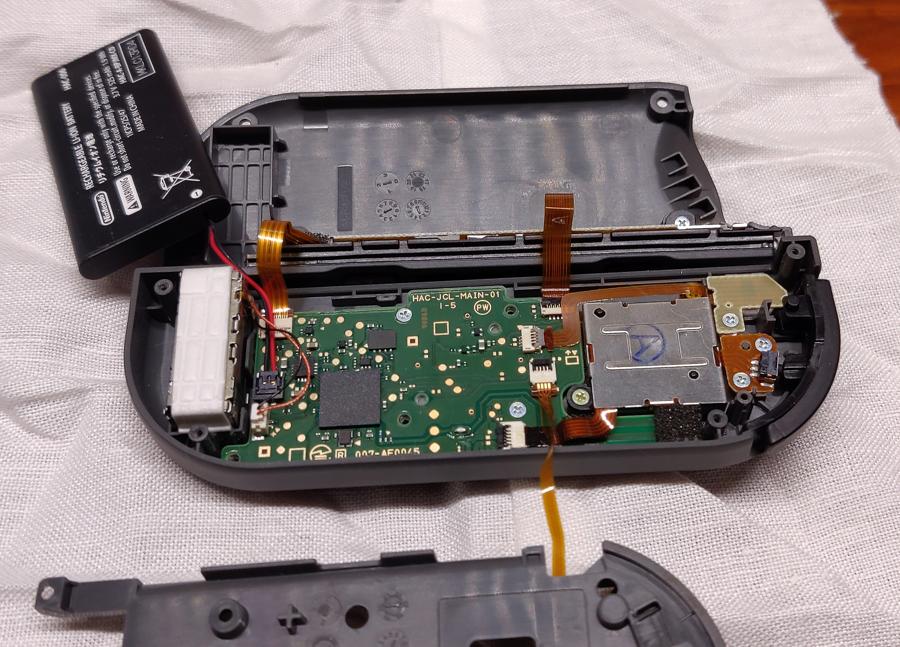
Take particular note of the orientation of things like the rubber backing on the buttons and how the thin flat-flex cables snake around the larger components like the battery.
The flat-flex connectors on the boards in the Joycons use zero insertion force (ZIF) connectors. Each connecter has a little lever which, when lowered, is used to lock the cable in place. When operated correctly, it should never take any force to insert or remove a cable from these connectors. If you find yourself tugging on something, stop and check what you’re doing as they’re really easy to damage.
While assembling the Joycons, I found that the “scanning” pattern of the four green LEDs made for a great function test. After putting a cable into a connector, you can tap a button connected to the cable and watch for the pattern to ensure the connection is good. Way better than assuming it’s okay, only to find it’s not working later after you’ve screwed it all together.